Robotics workshop
In this session we were challenged to make an animated cardboard creature. 3 people in my group were there physically Linde, Suzanne and me. Tjeerd was following the session online via Discord because he was not in Enschede that week. That meant he had different tasks he could fulfil.
To help with the designing we were given 3 servo’s and there was a preprogrammed board available to move the servo’s. This facilitation meant we were able to focus on the designing without having to worry about electronics.
To start a creature needed to be designed. After joking about making a penguin we went to the available materials to get inspired. There was a button that reminded me of the nose of a racoon, so I suggested to make one. I thought the hand movement of a racoon would also be good to animate. The others agreed so we went to work. Of the three of us physically present, Suzanne has the most experience with Servos so she focused on animating the movement. Linde had an idea for making a tail with pipe cleaners so she started with that. This left the body and base to be made which I started on. Tjeerd was dubbed Documentation Tjeerd and his task was to make clear notes of our session. For my base I made a sketch of a racoon and checked with Suzanne how large the arms would be to ensure the body would be in proportion to the arms.
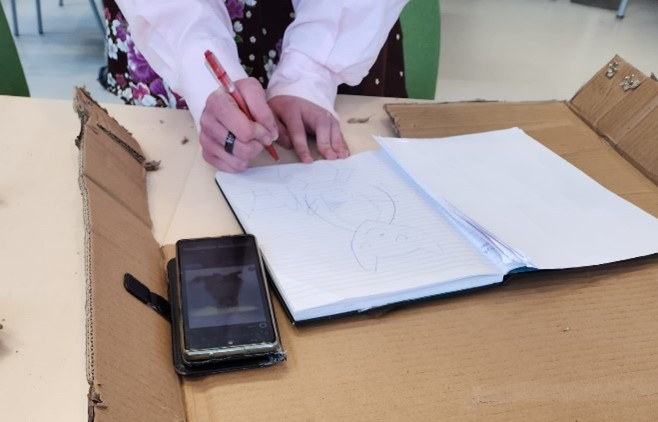
Cutting the cardboard was a bit of a hassle as I only had scissors to work with, but I got there. When the physical parts were done I made some decorations on the head so that the creature looked more like a racoon. As I was the one working on the central part of the creature, I also tried to pay attention to what the others were doing to check if everything was going smoothly. When Linde’s first tail ended up being too heavy we discussed other options which ended up being more successful. Part of keeping an overview meant I also routinely checked how much time was still available and if we were on schedule. At some point we had about 15 minutes left, and we were about ready to test. After getting our creature moving and documenting it, we started with clean up.

However, it seems like my time keeping was too effective as when were done with clean-up we still had 10 minutes left. As I had already ‘’brutally” decapitated our little racoon we could no longer improve on it and were left with some down time. Meaning I could have been a bit less strict in time keeping but I still believe keeping a close watch on the available time did help as it helped decide what was feasible.
Tinkering material try-out
BYOR
Next there was the tinkering material workshop. We started with Byor kit. Byor is a way to play with Arduino components without the hassle. You can plug in sensors in the input slots and directly connect them to an actuator in the matching output slot. The sensors and actuators are colour coded which makes it clear what is what. There is also a power bank which allows you to use the system without using a laptop as a power system.
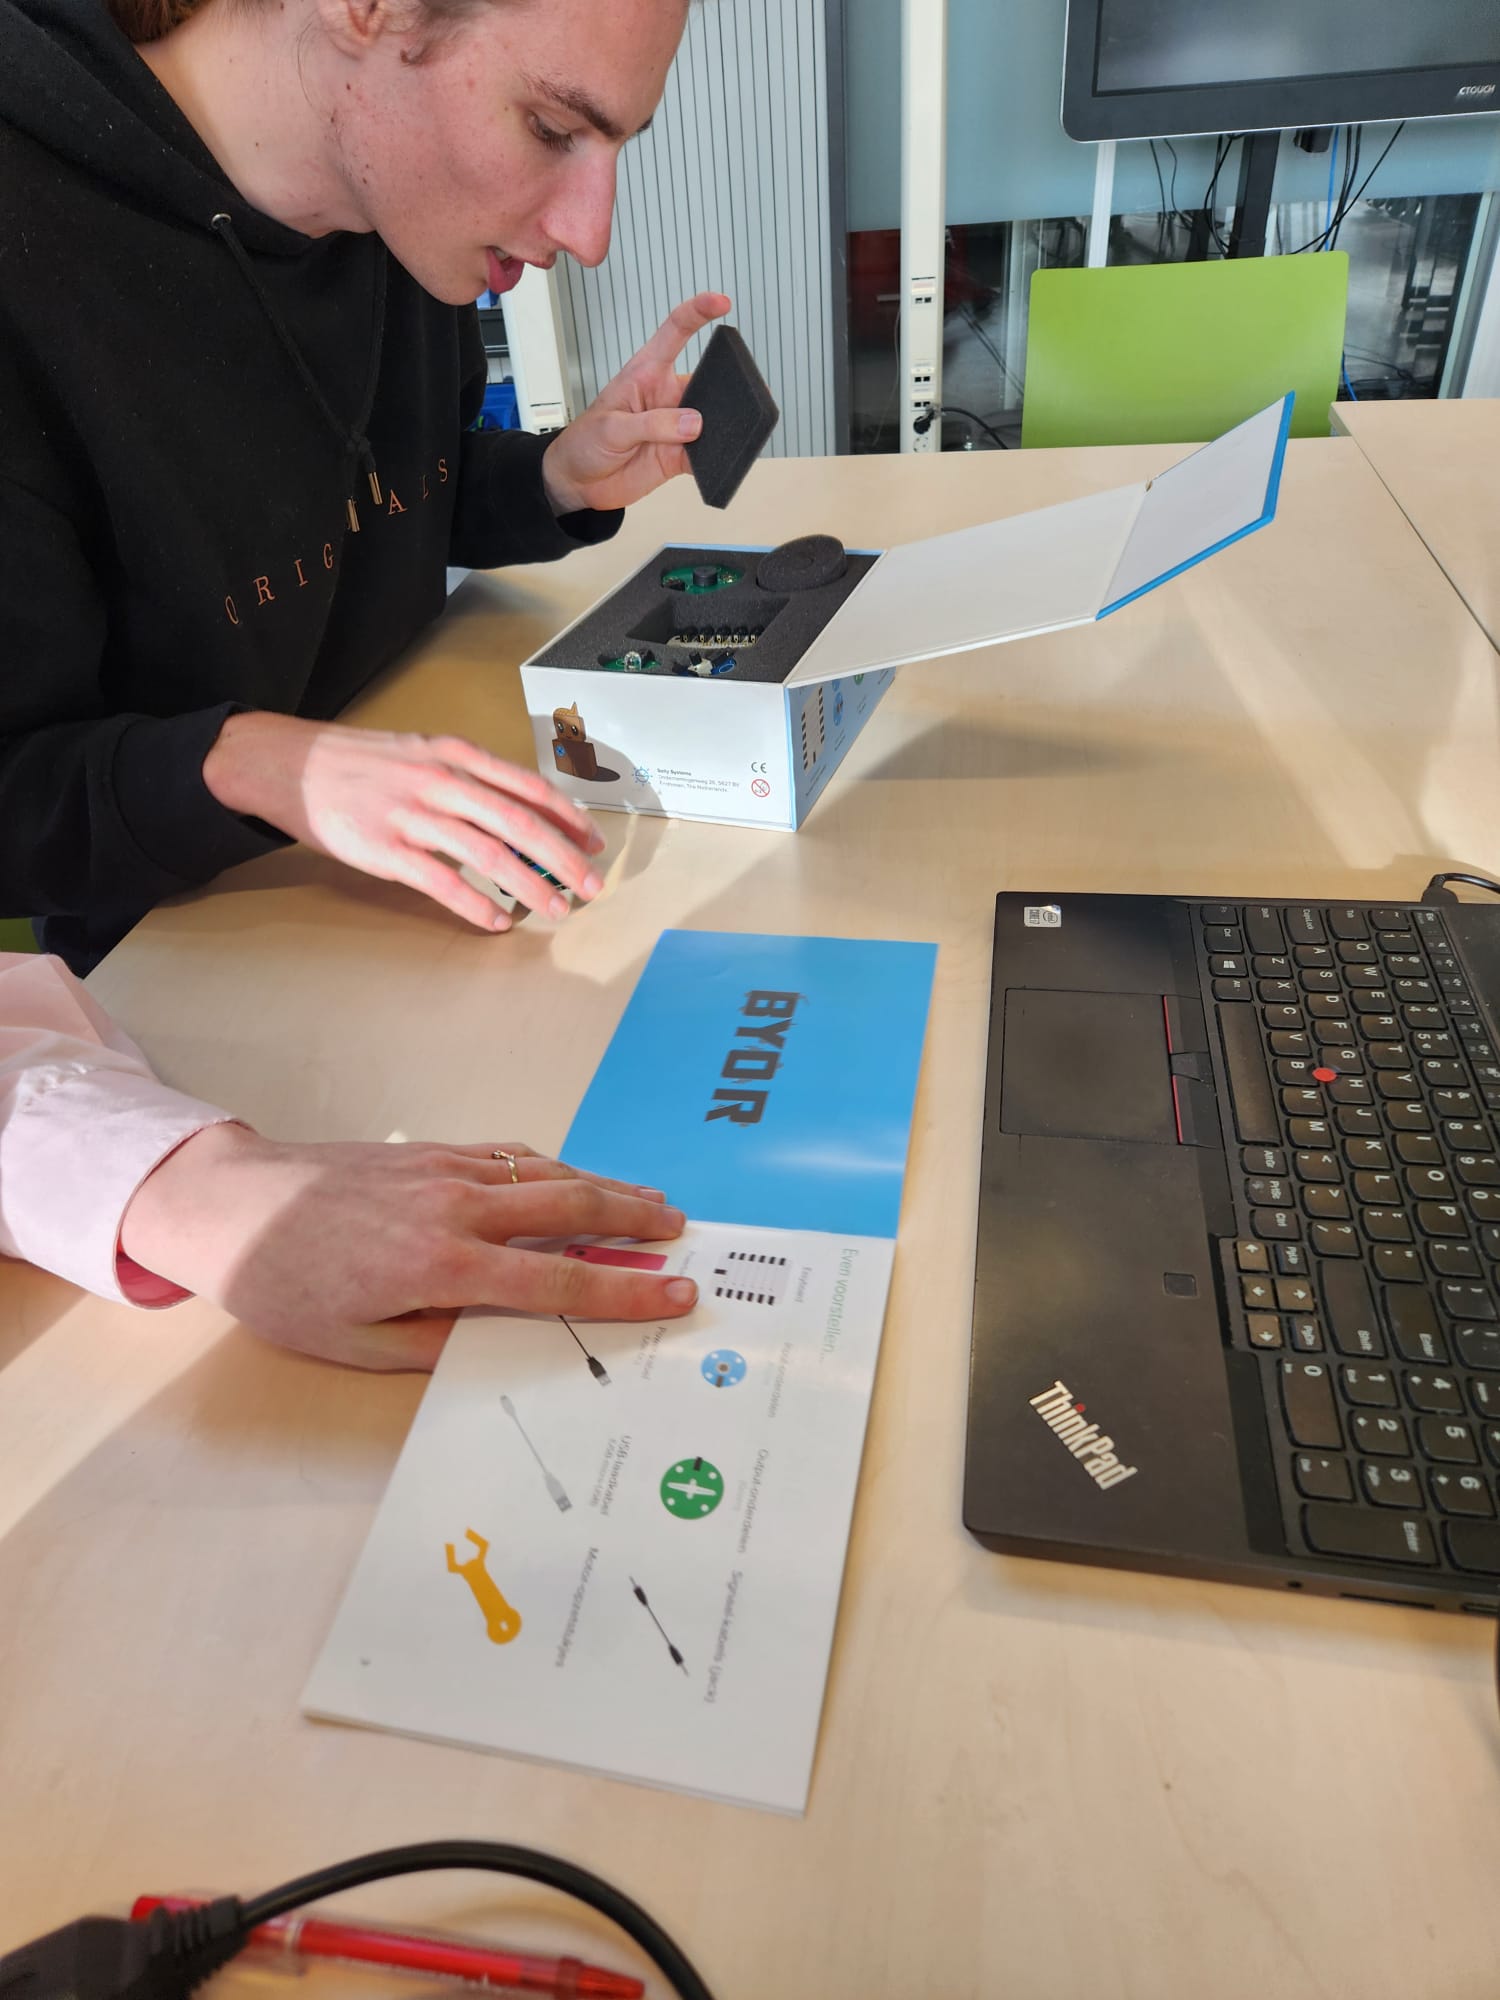
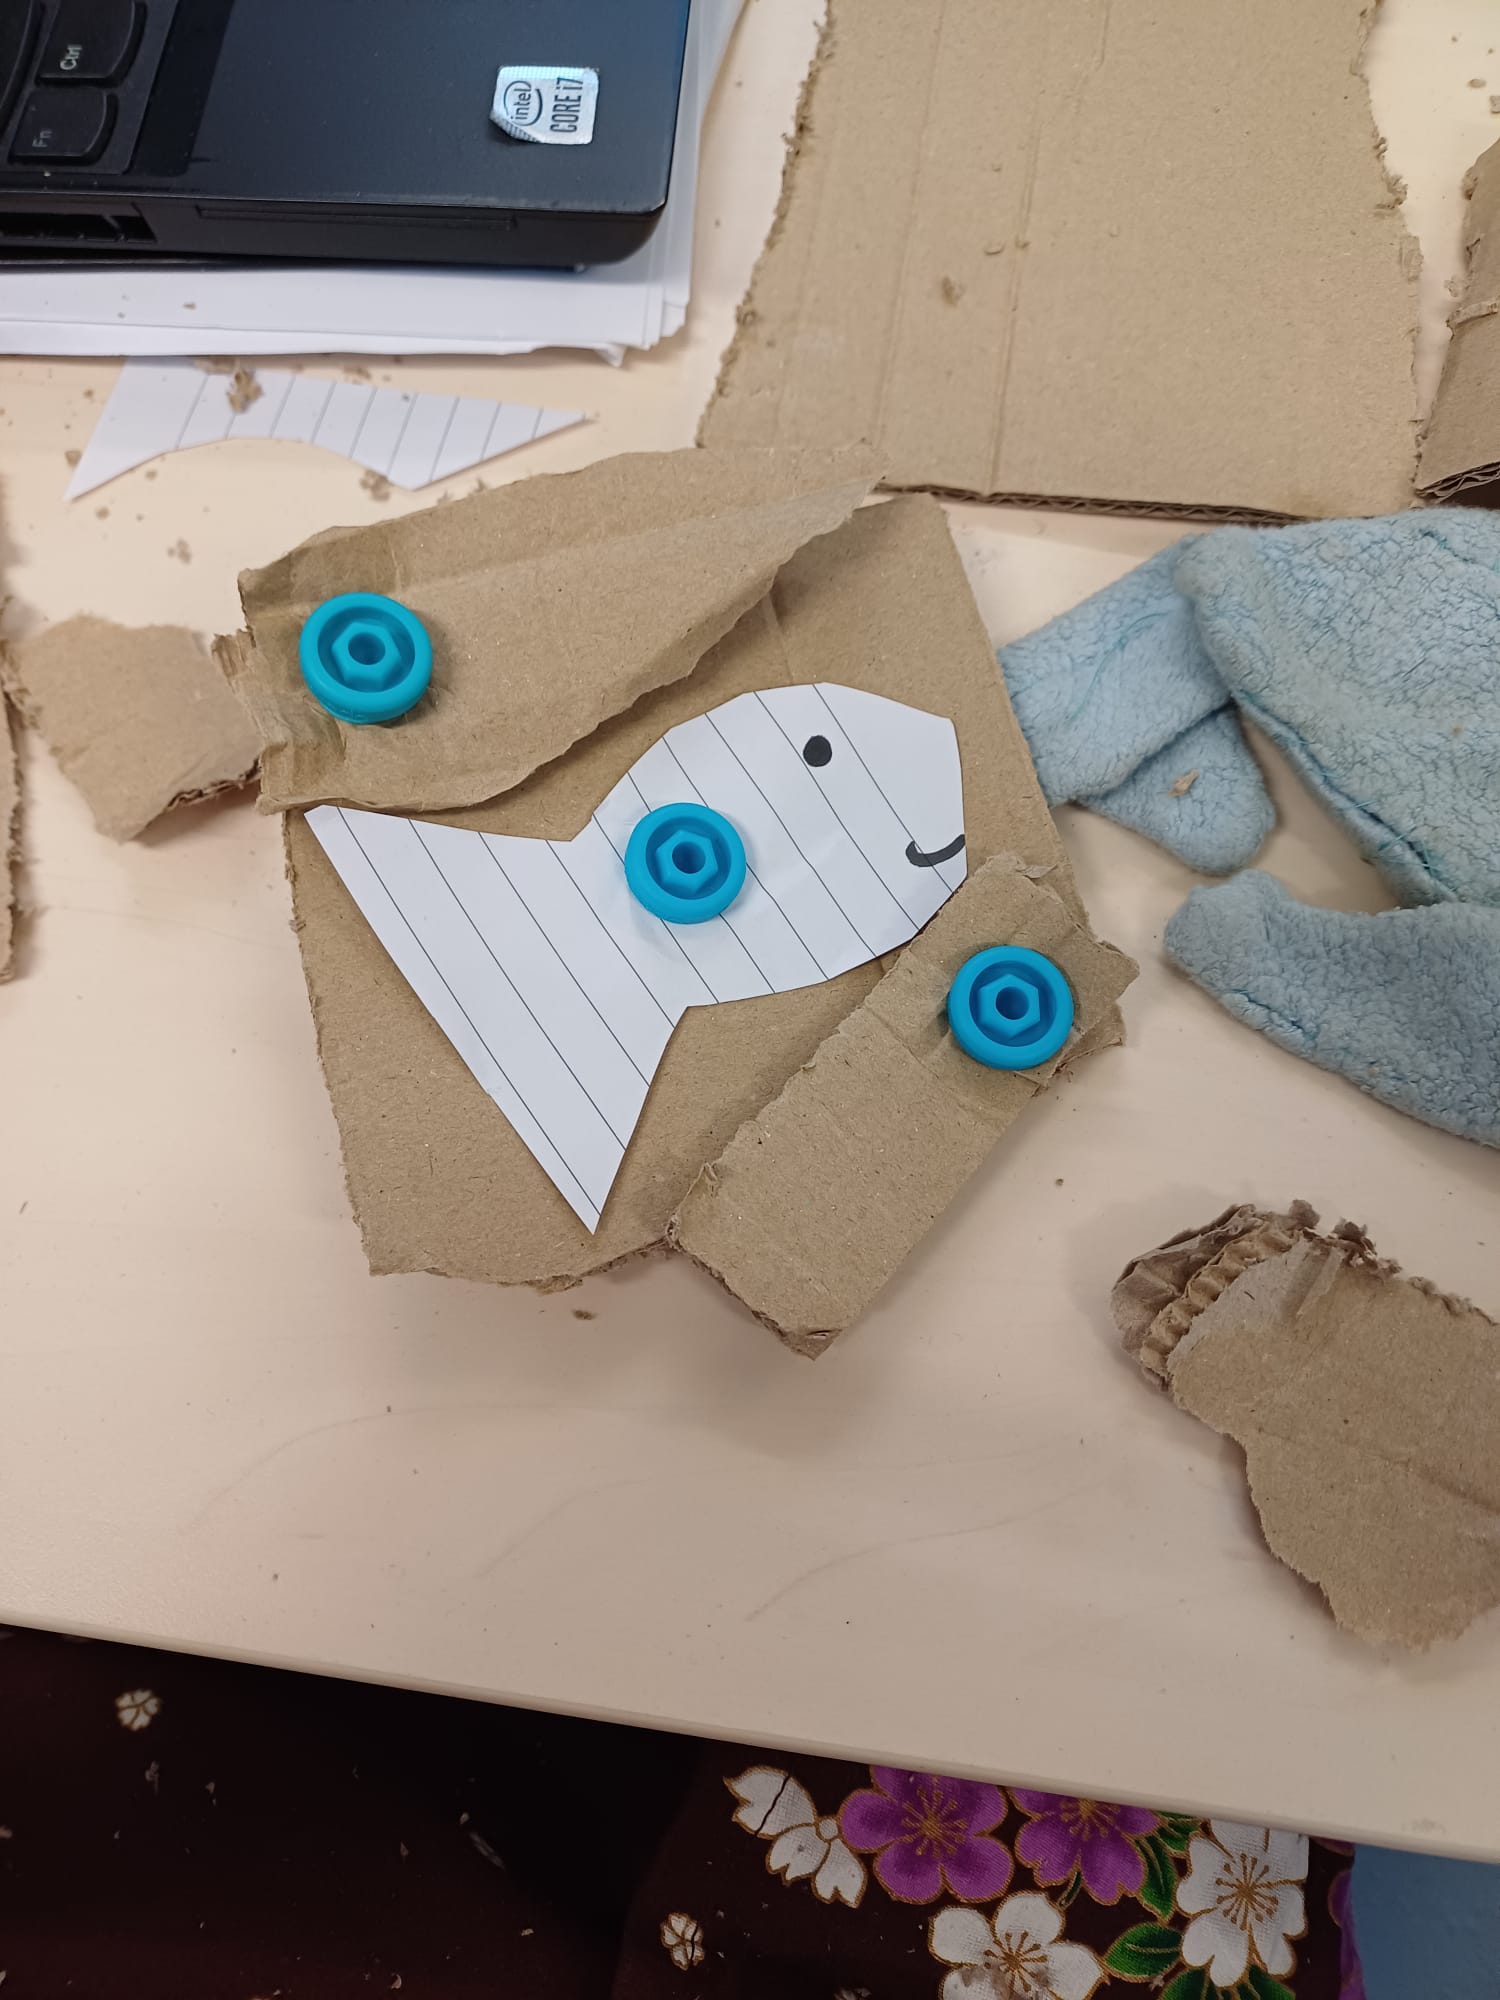
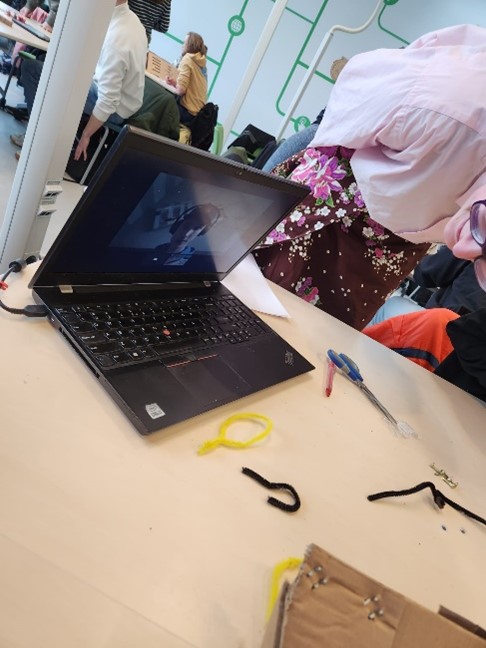
The idea of the Byor kit is that it is easy to use and understand, however it did take a while for us to understand what was going on and how to operate the system. I had to read the instruction booklet to know what the idea behind the kit was. After figuring out the input/output system and that there was a power bank we first used a potentiometer to move a servo. I cut out a paper fish to connect to the servo, so the movement was more clear to see for Tjeerd on camera. After that Linde and Suzanne worked with the speaker and microphone which made a not so pleasant sound. The fact we had an actuator that perfectly matched a sensor inspired us to see which other actuators matched with a sensor. Asking this question made us all realise nearly all of them matched up which meant a chain reaction could be set up. Excited by this idea we went to work. The system we ended up with was:
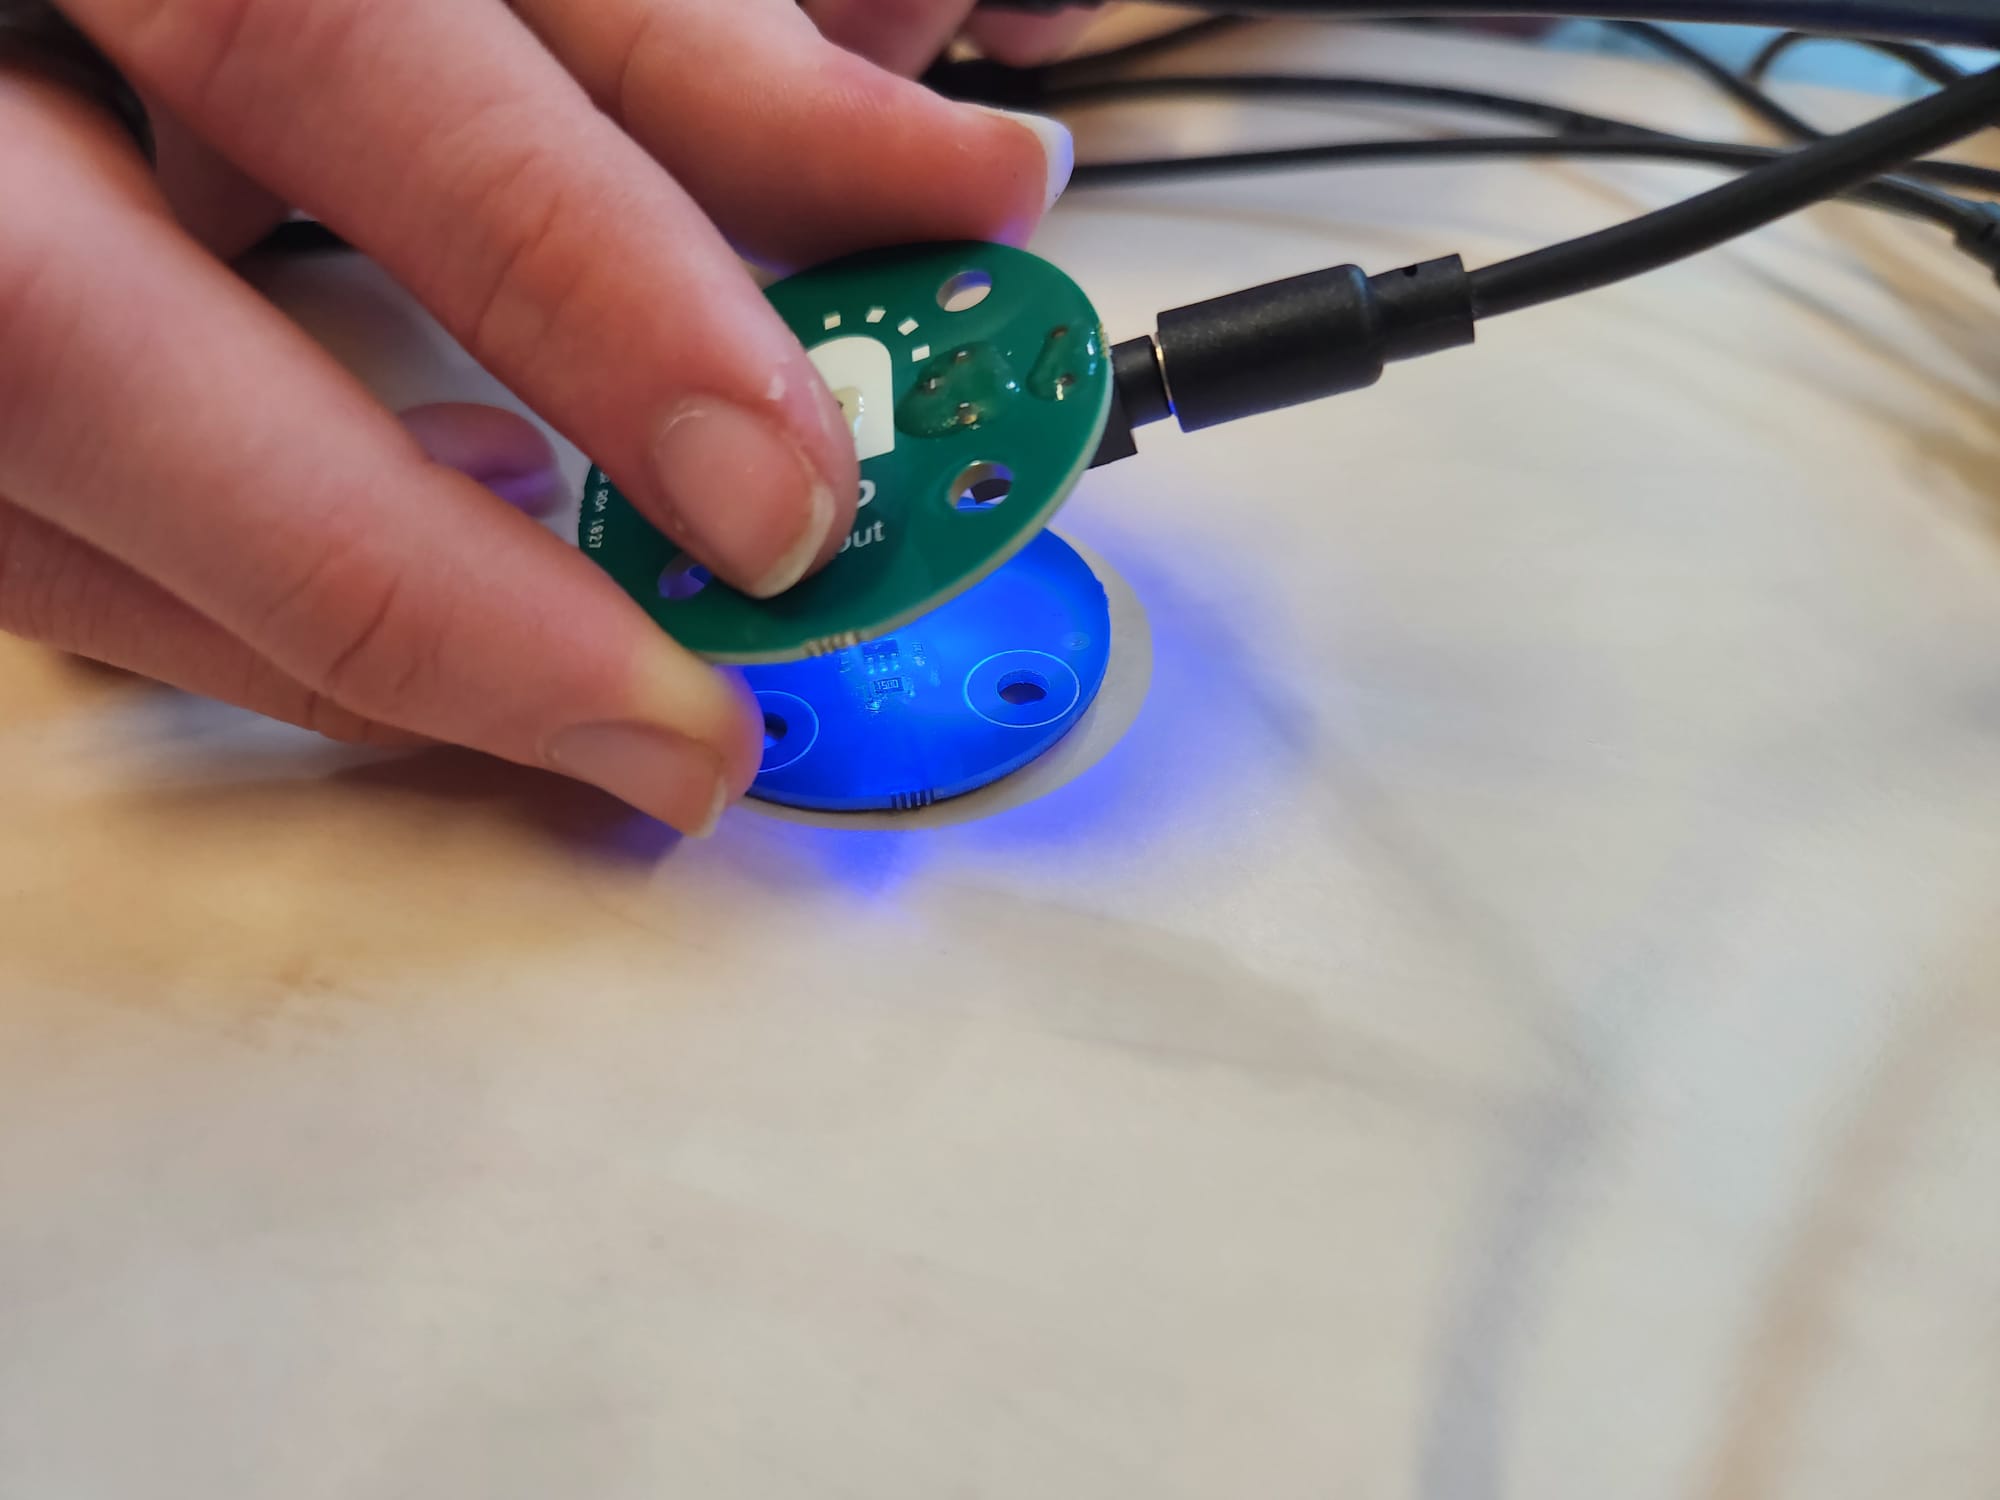
A potentiometer turned on the light --> A light sensor sensed the light and controlled a speaker --> The microphone moved a servomotor --> A distance- sensor checked if the servo was in front of it controlling a stepper motor.
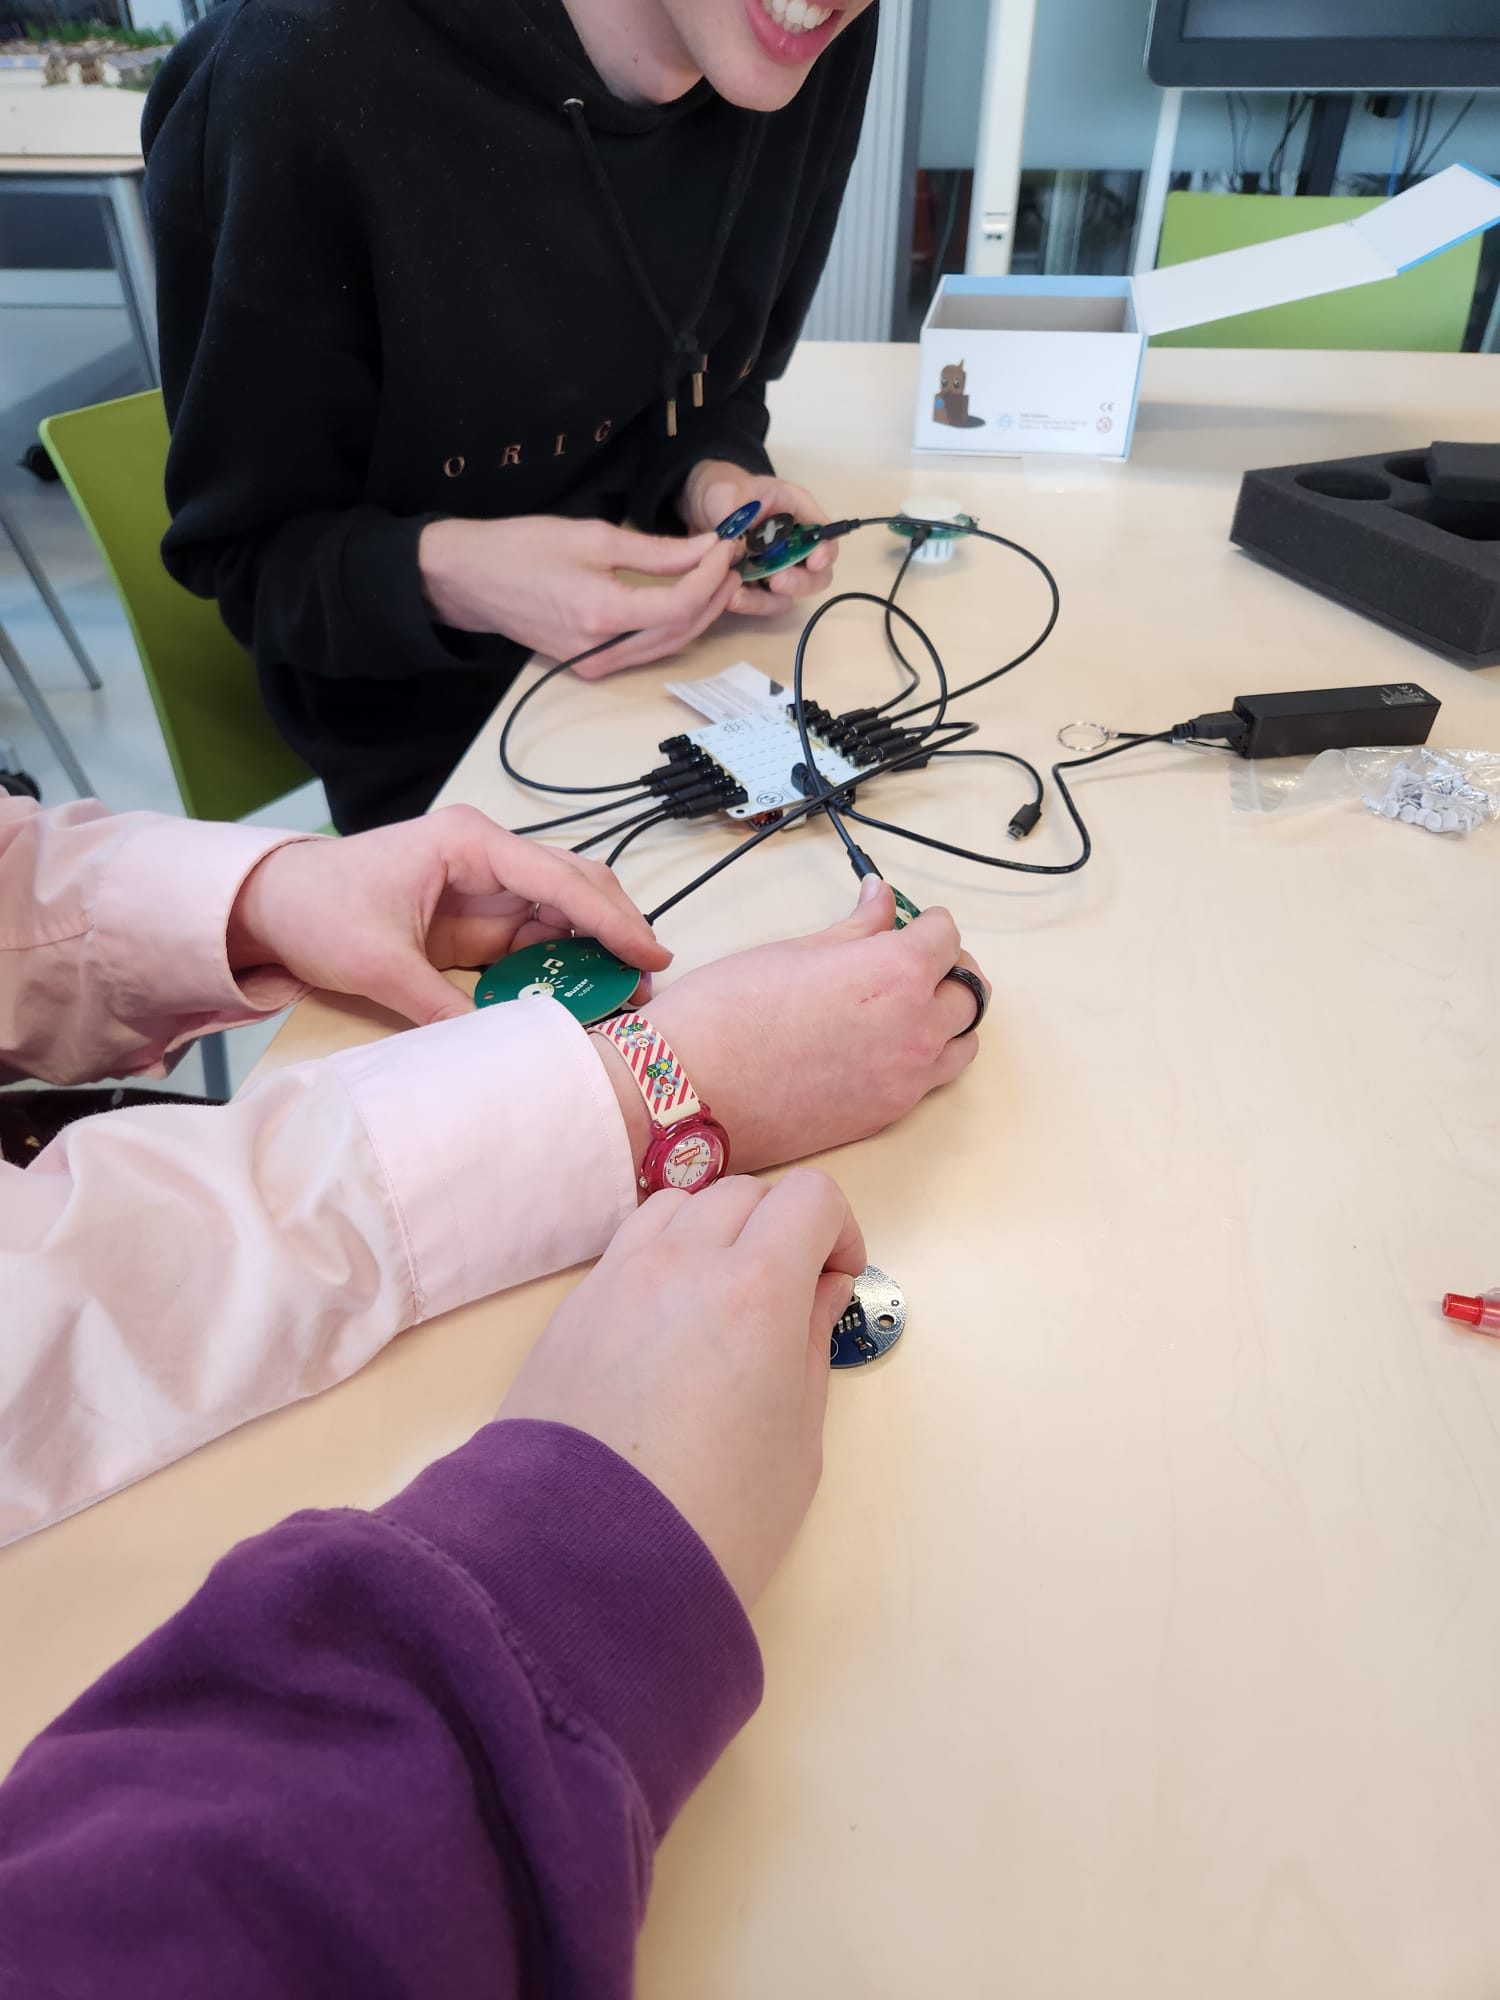
This way we ended up with the most convoluted way to control a stepper motor with a potentiometer. Making this system did show us clearly what every component did. In general, I liked the system as an easy way to use these components without having to code but that does also take away from the freedom and possibilities of the components.
Grove kit
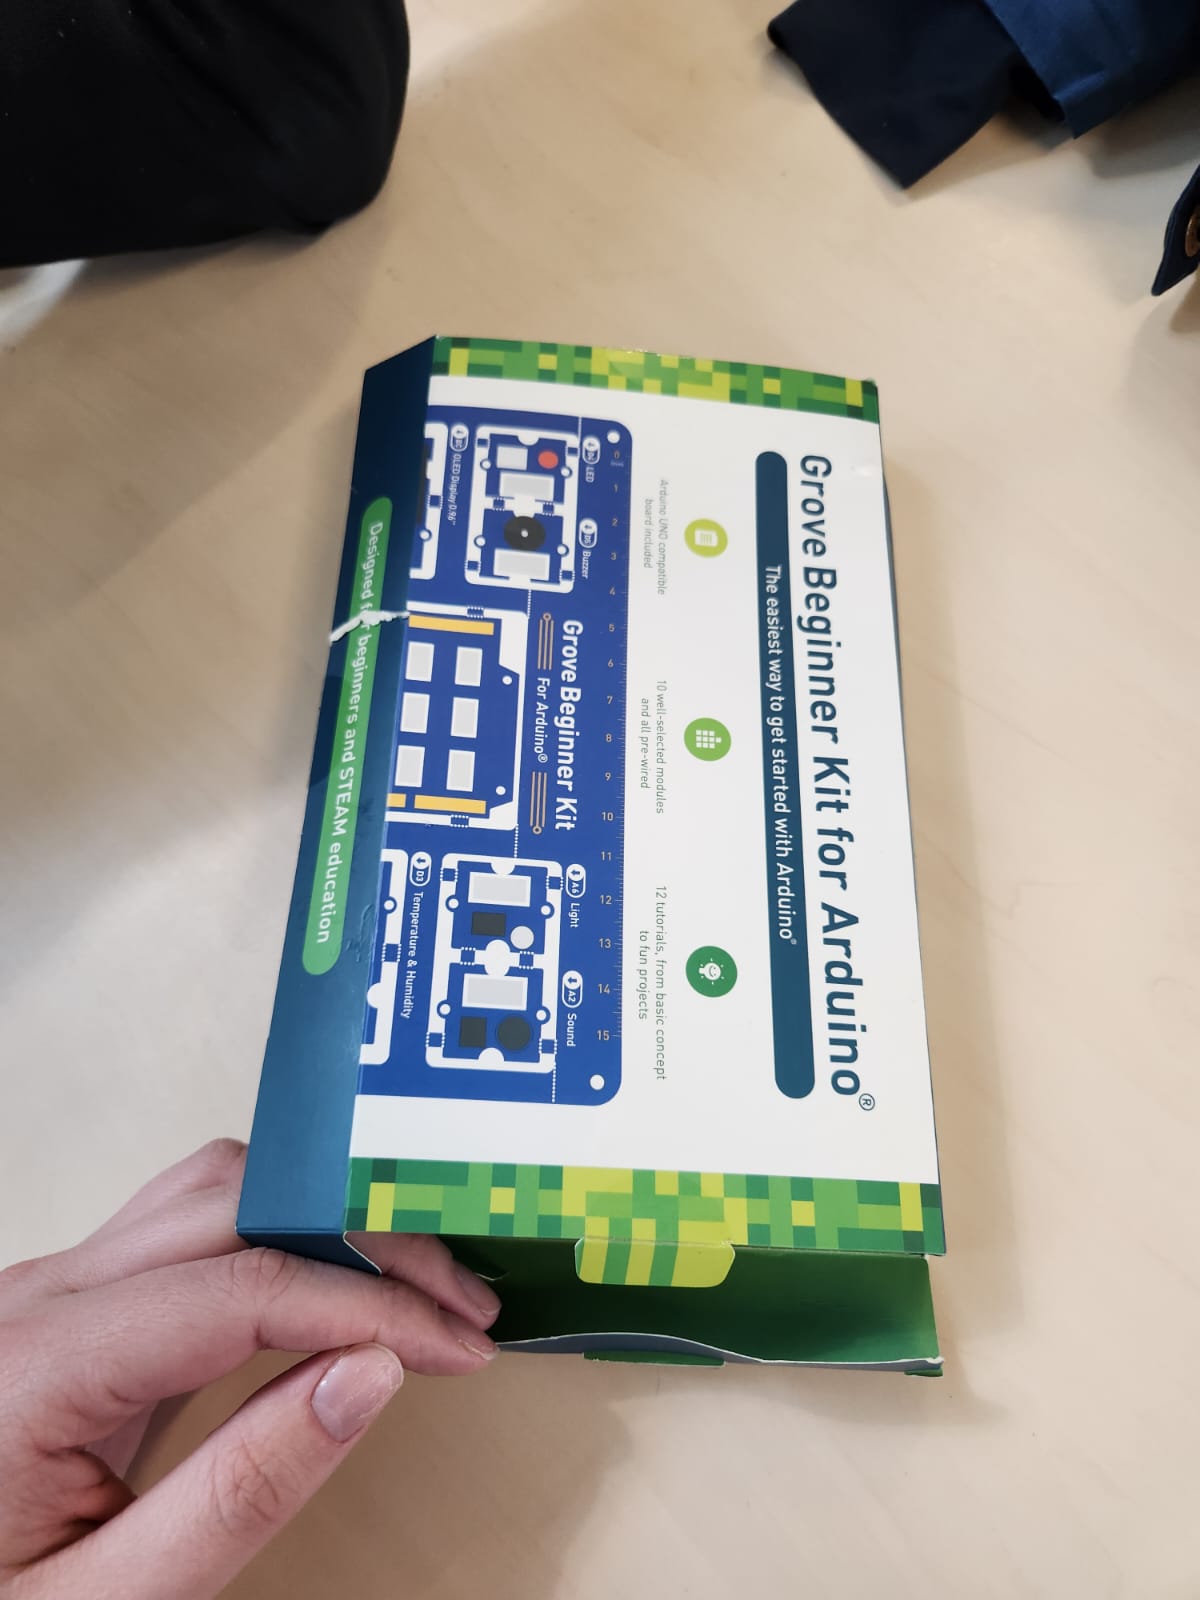
The second thing we tried was an Arduino kit with the components in such a way that they were easy to connect with each other. It was a confusing kit. The instructions were only available online which is not great when you want something to be plug and play. It was also two different kits I’m pretty sure. One was already loose the other one was still as a board with everything connected. As I am used to connecting a Arduino to a laptop to get started I connected the connected board and now there was power. This board was very confusing, I pressed the button that was part of it a few times which turned on a light. There was also a sensor reading that we could read of. I accidentally pressed something that made the screen show another sensor reading and it took me 5 minutes to figure out what I did and how to replicate it. When I had I was able to get the screen showing the movement of the board which was interesting as it was turned 90 degrees and so did not match up with what you actually did. It reminded me a lot of a minigame of Wii party. This ‘’game” of moving a dot over the screen was the most engaged I was by the system the entire time we got to try it. At the end we discussed the kit and decided we did not prefer this kit over a kit with loose components and cables. However, this could just be because we are used to our own kits but our confusion with the system is still valid.
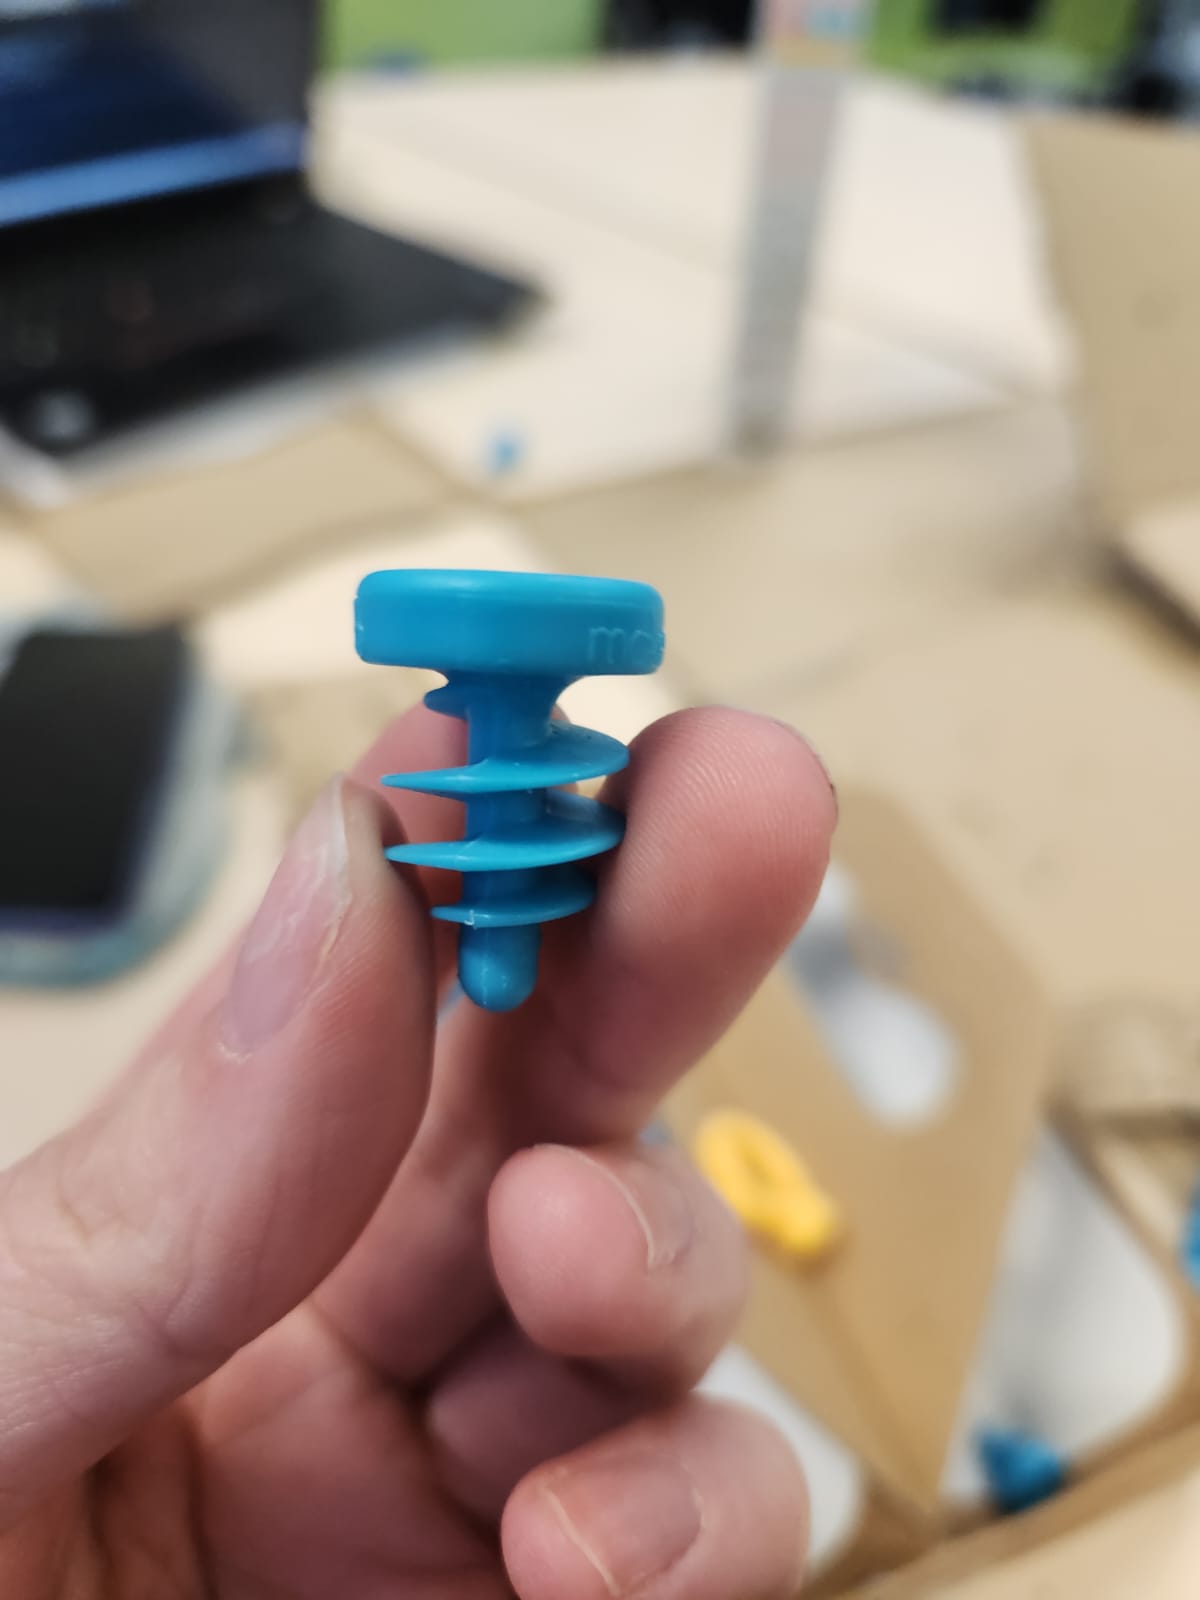
Makedo
The last material we tried out was Makedo which is a set of screws and screwdrivers made for cardboard. When I was younger, I made multiple cardboard houses for my cats to play in so I was excited to try this out; Interested to see if this would have made a younger Door’s life easier or not. Unlike the other tow materials this one was very easy to understand the fundamental idea of, even if it took till halfway the session for me to understand that the sharp pin was a way to pre make a hole for the screws. We named the holes we made with this pin the “murder holes” as it felt quite violent to stab the cardboard. After doing the basics of attaching cardboard together I tried to make a kind of art piece for the fish I made for the Byor kit by making it float. The idea was to fold a piece in such a way it would have distance from the cardboard but this was a lot less effective then I had hoped. In the end I did not think Makedo could help in way duct tape can’t. It also would not have been helpful for my cat houses as the part that broke most often was the plastic foil roof I made which the screws probably would not have been able to attach to anyway